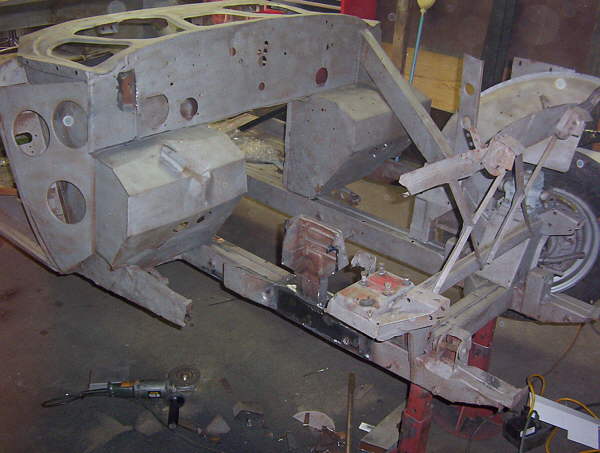
This restoration is being carried out for owner Nigel Lamb by Brian Burke Wharf Street Custom Classics. Nigel has owned this car for the past 30 years, and approached Brian to undertake the restoration. As can be seen in the image below, and like many Healeys the car has been involved in more than one accident during it's life. In the case of this BN1, firstly to the front right side, as seen below, and the rear left side as can be seen further down the page. The car has apparently only covered 34,000 miles.
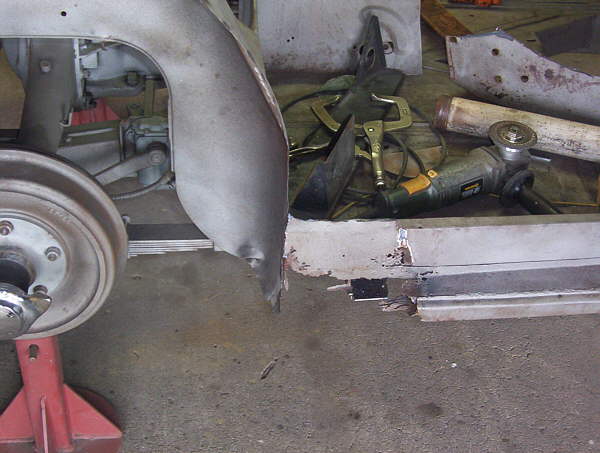
The image above shows the repair to the right chassis
rail, with the brace and inner guard cut away ready for repair to the footwell.
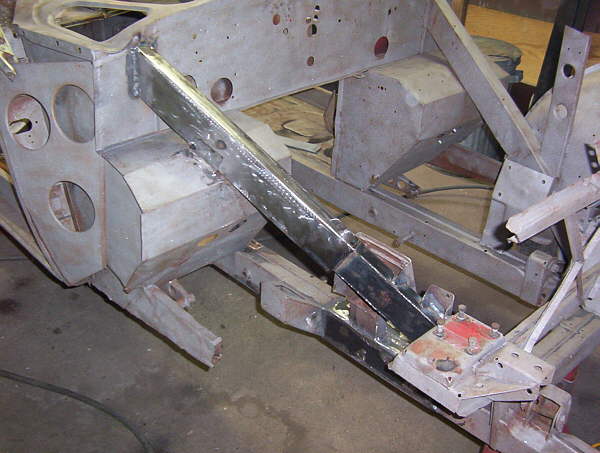
Footwell repaired and and a new brace installed
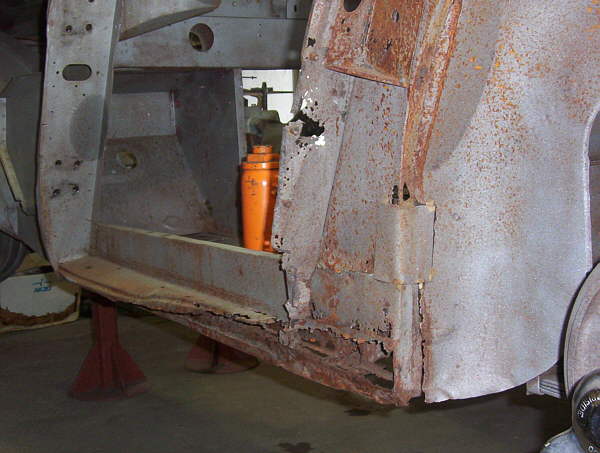
Probably the most familiar sight, seen by restorers of these cars. Both inner and outer sills rusted away, with the remains of some previous half hearted attempt at repair.
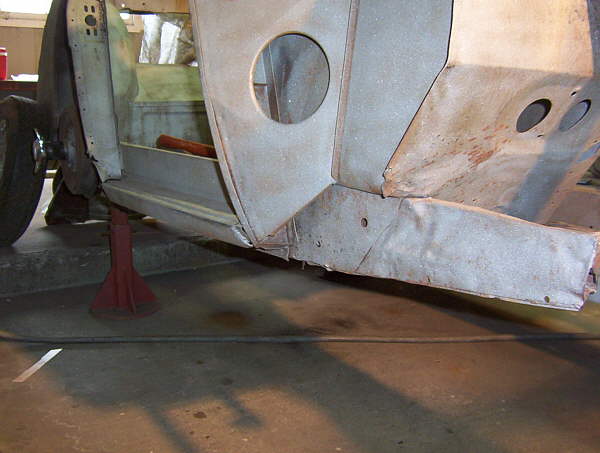
The right side of the car where the sills are in surprisingly good condition, other than the accident damage
The inner wheel well still in place after removal of the flat inner guard area. The inner wheel well is not usually available as a replacement part, so every attempt is made to re use this section.
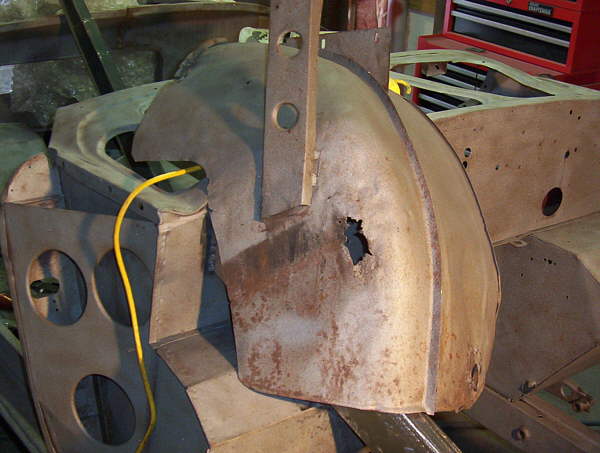
Front right inner guard removed ready for repair
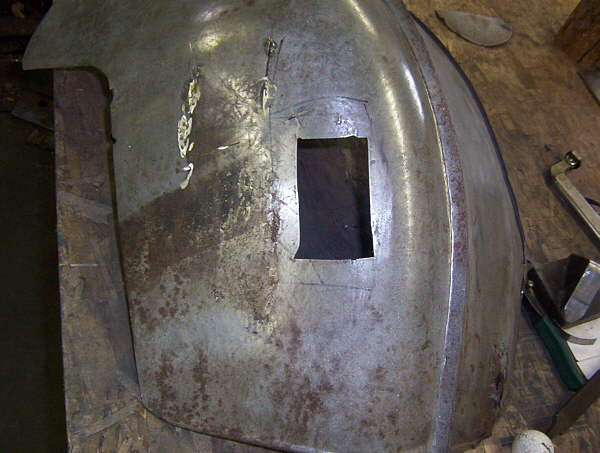
The inner guard blocked back into shape and ready for a patch
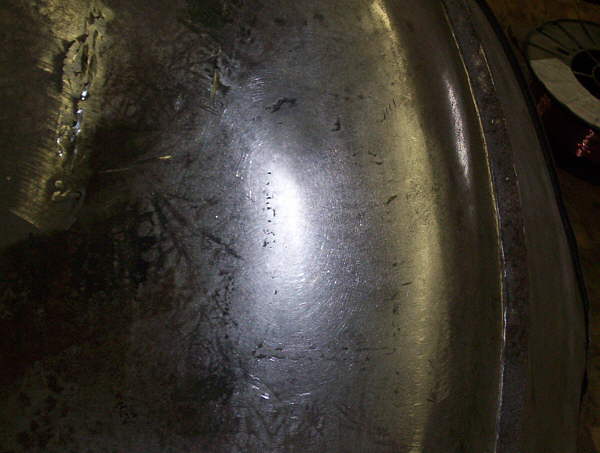
The completed repair
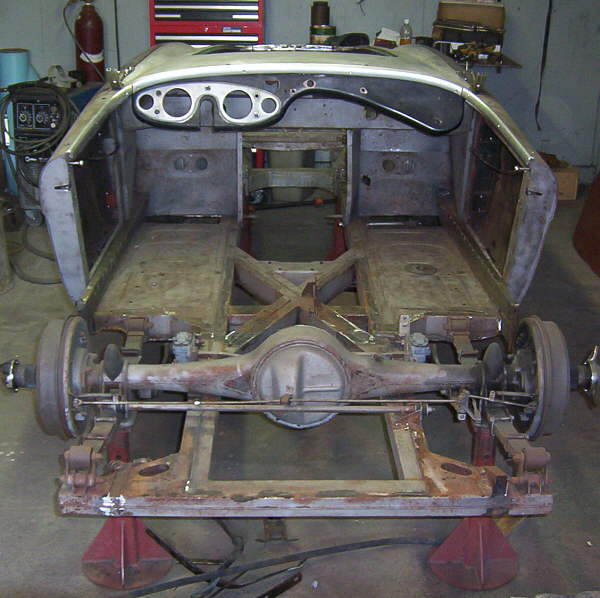
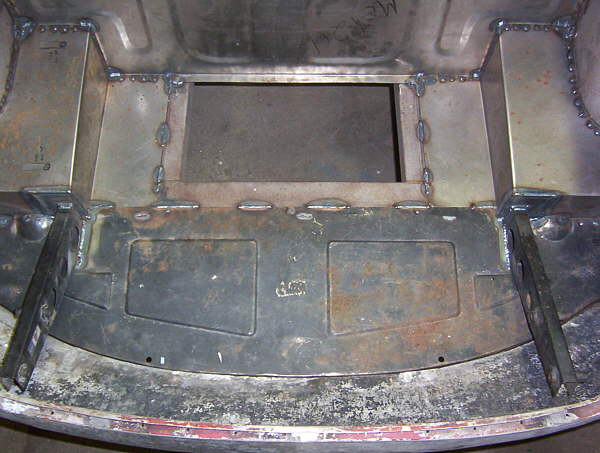
The chassis with rear bulkhead removed for repair. The
rear bulkhead on the 100 simply sits on top of the chassis, so it is quite
often simpler to remove it from the chassis, repair the damaged areas and
then re install. It is interesting to note that this car has the later
"5 stud" differential, which places the car later in production than chassis
number 221536, November 1954
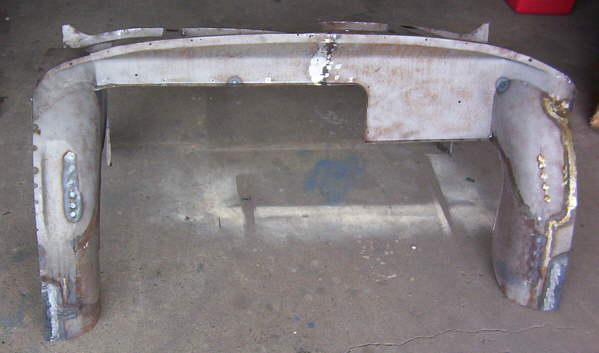
This is all that remains of the rear bulkhead after removing the damaged areas. As previously mentioned the car had been badly damaged at the rear, and a "cut and shut" repair performed, where a section of rear bulkhead from another car was very badly grafted in to make the repair. All this has been removed in preparation for a proper restoration.
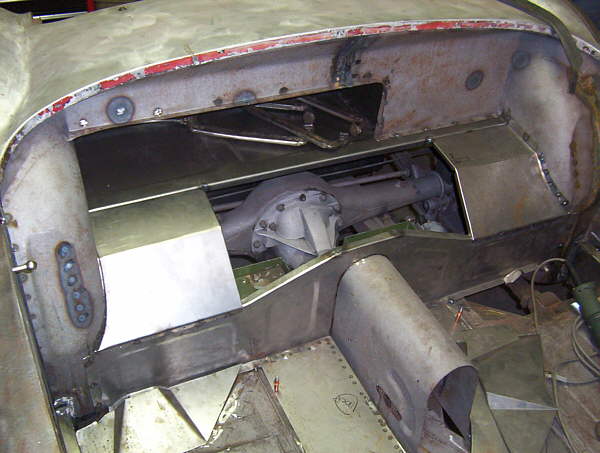
The replacement sheetmetal can be clearly seen in the image above.
Once again, lots of new sheetmetal replacing the old. It is interesting to note that on the picture above, the boxed area is not flanged where it meets the curved section of the inner wheel well, where in the image below the box is flanged. The image above is of the side original to the car where the image below is of the left side which was spliced into the car from either a later or earlier car.

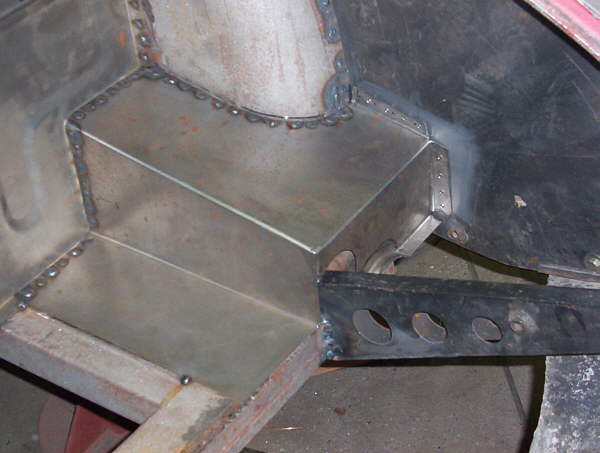
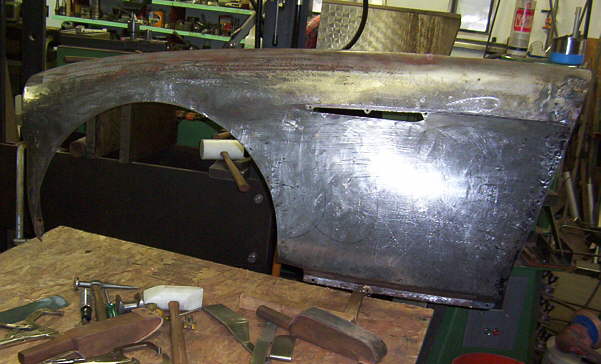
The completed trunk area, restored back to original condition.

It is truly amazing what can be found underneath the
Fiberglass filler!
And the completed metal finish repair.
The underside of the rear shroud is shown above with corroded flanges replaced using the oxy acetylene welding method.
The finished repair

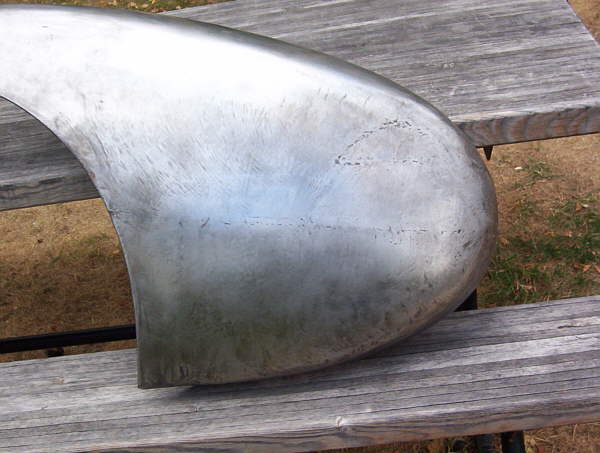
The trailing edge of the front left wing is shown above, showing a previous rough repair.
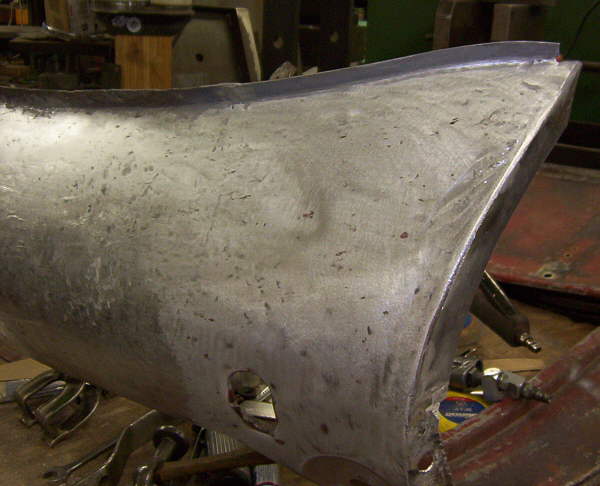
Once again the completed repair is shown above
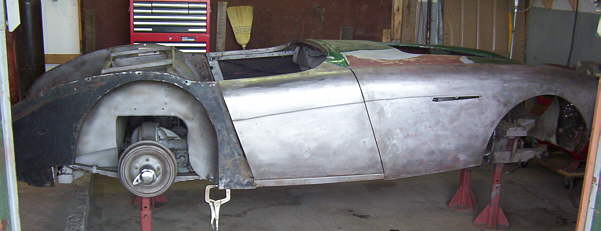
Body alignment in process, new rear inner guards clamped in place and ready for welding.

Trial fitting of the repaired panels
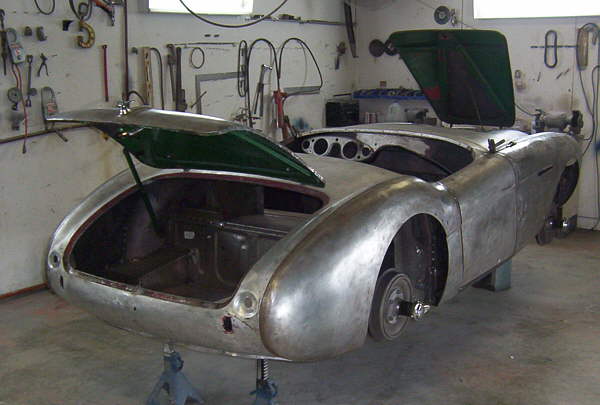
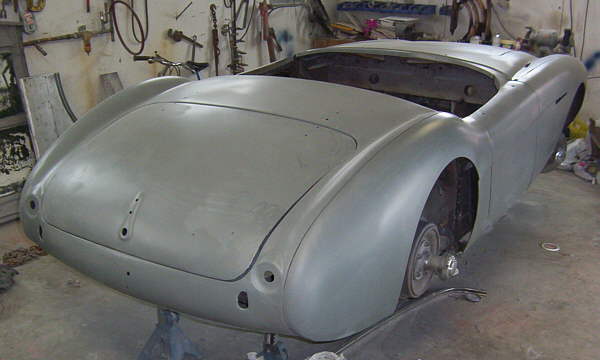
Finally, primer applied, the body is ready for final finishing and painting.
Note: The Austin Healey 100 Restoration Site is a not for profit web site for those of us that enjoy our cars and are interested in the restoration process. Restorations by individuals and businesses will be published at no charge and equally by the site on the basis of their interest me and the Healey community.
Home