By: Sjra Bustin Mail to sjra.bustin@home.nl
The beginning
The beginning
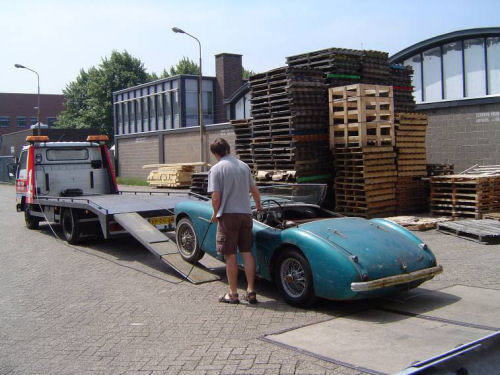
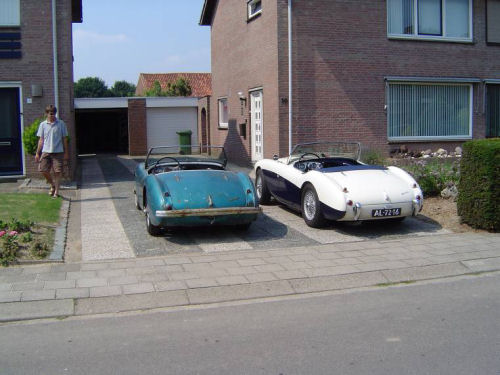
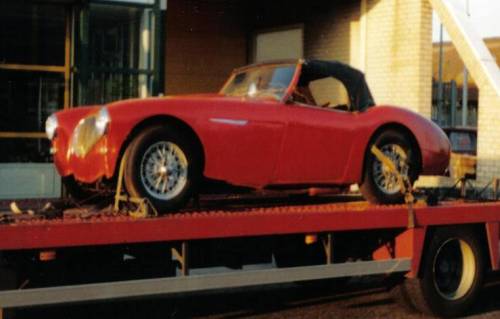
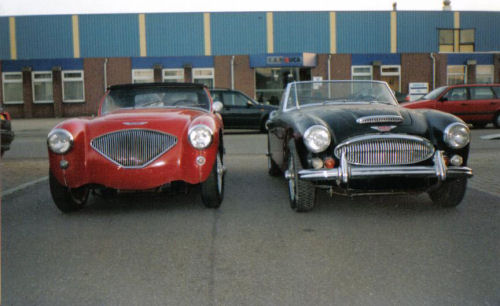
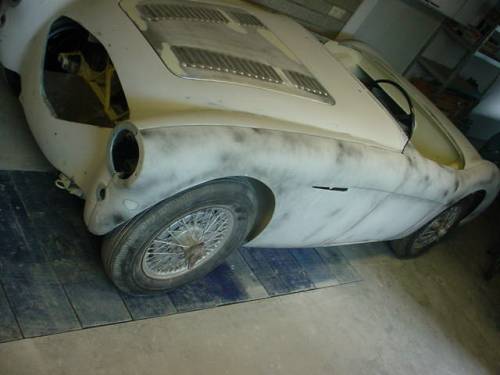
Received the car in September 2001. The car came Originally from US Indiana. Definitively not a California car. The black MKIII is from a friend and is still as is.
Disassembly
It turned out to be that the original color was Healey Blue. I spent quit some time on disassembling the car. Sometimes it could take several days to loosen some bolts. For example the bolts on the door hinges, it was a process off spraying penetrating oil, try to turn a quarter back and fore worth, spraying again and let the oil do his work over night. All so bolts on leaf springs, spring shackles and front wish bones were a pain to get loose. Patience in the beginning will save you money and time at the end.
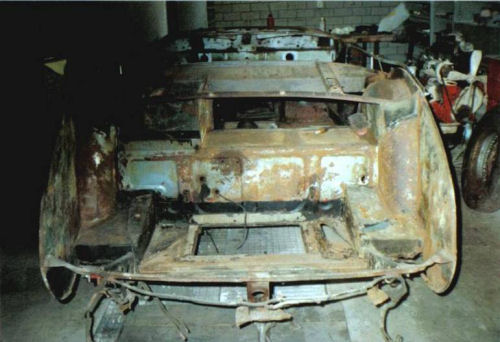
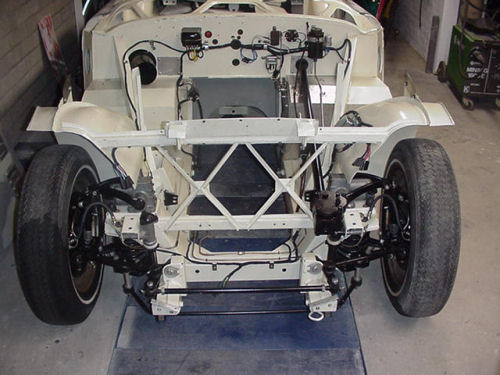
Chassis Repair
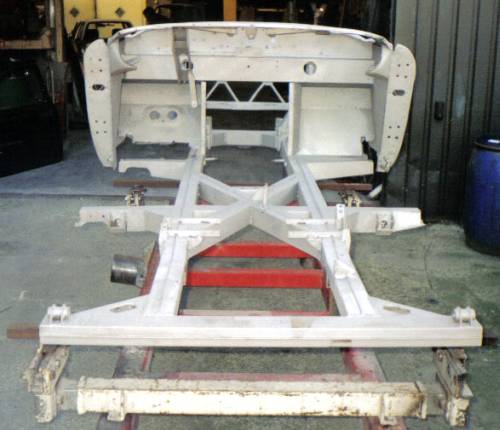
Both cross members had to be replaced. All so replaced right front trigger This is normally the worst trigger of al four. If this trigger is real bad than the main rail is probably rust through from the inside. The weakest spot of the main rail is where this trigger is connected. If the front door gap is opening downwards the main rail is bent at this spot. In general the chassis on the left side is better than the right side. This is because the heat of the exhaust which keeps the left side a bit more dry. Be advice that repair on the main Chassis is serious business with many pit falls.
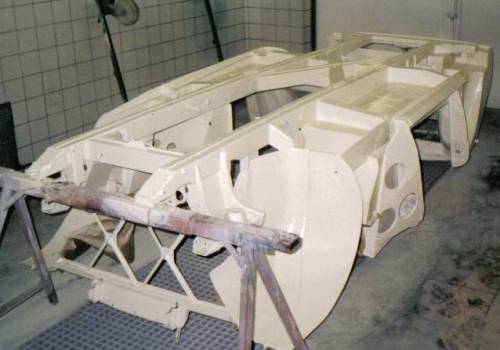
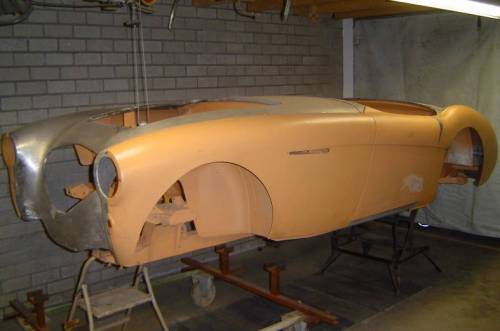
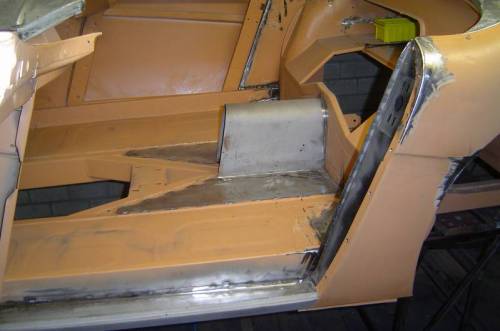
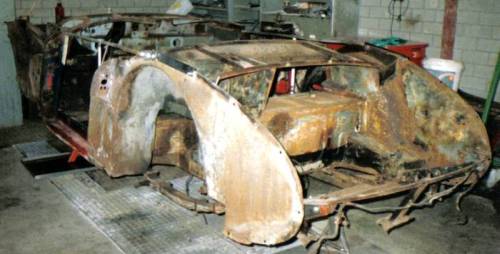
Inner/outer panels repair
I'm sorry I don't have pictures which are worth scanning, from ongoing panel repair. Bottom line is that I have replaced ore repaired every panel up to 10 cm above the main chassis. All panels have been sand blasted and been applied with a layer of epoxy primer. All seems have been sealed, wheel arches have been sprayed in a thin layer of elastic primer before final spraying OEW. For illustrating pictures of panel repair I would like to refer to the work of Larry Varleys. His site been a great help during restoration.
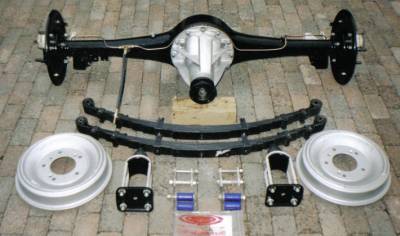
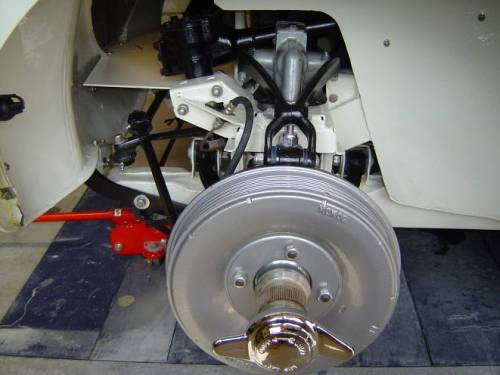
Suspension pre work
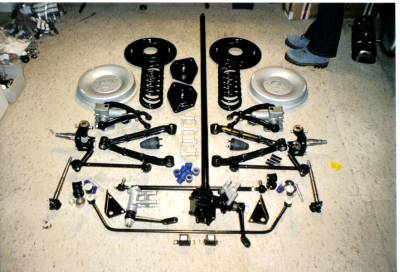
Poly bushes are defiantly worth the money. All bolts and small parts have been cadmium plated. The anti roll bar has later on been replaced by a 1 inch piece. This turned out to be a major improvement concerning to the car handling. All so worth the money.
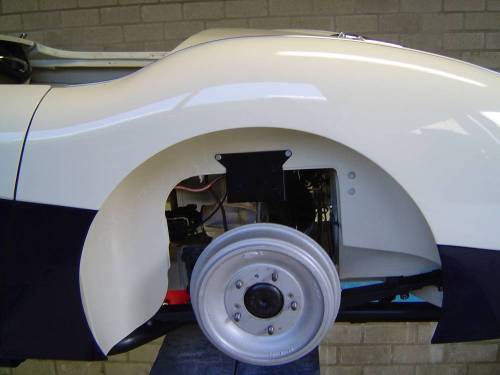
Body pre spray
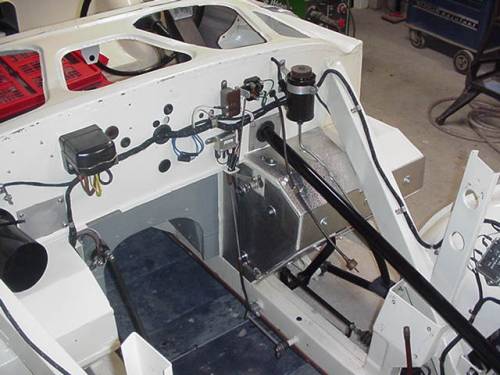
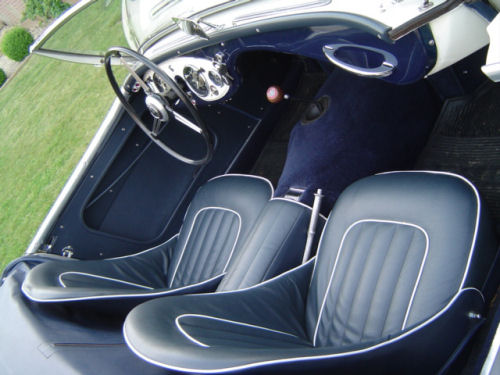
Inner body assembly
Build in as much as possible while you still got easy exit. I glued the insulation against a thin aluminum sheet to prevent from cracking.
Engine repair
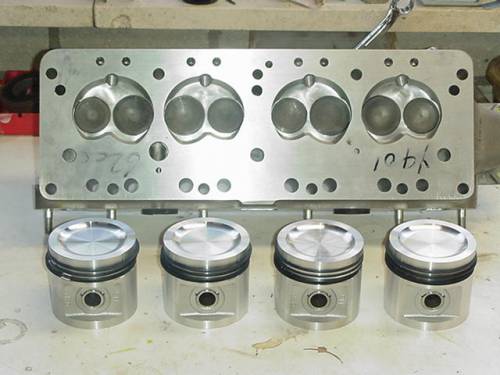
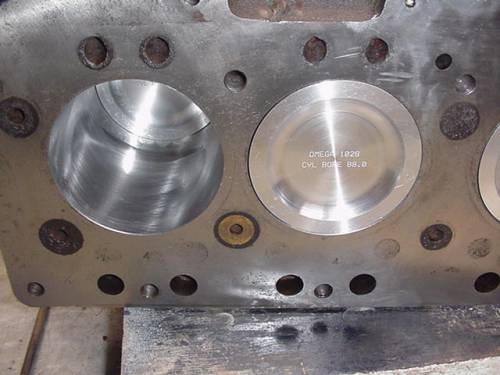
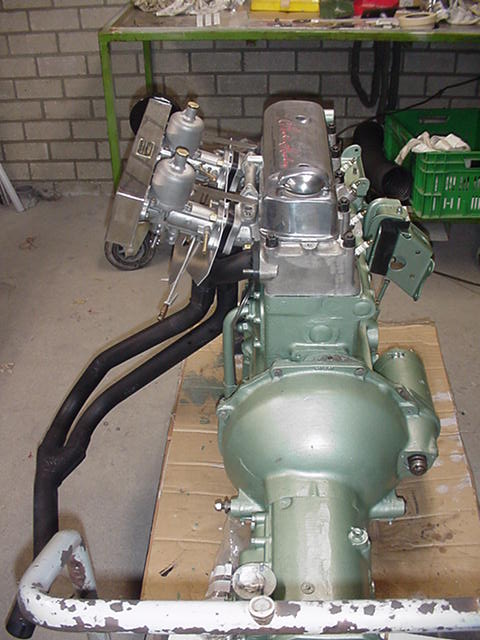
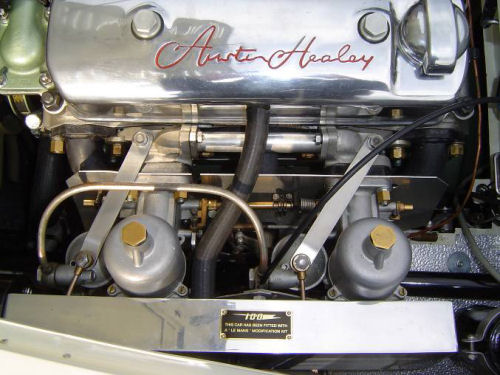
The engine had some history. It was running but that didn't mean anything at the end. There was a cracked piston which had some bad welding, even worth the cylinder head was cracked which is not unknown for a four cylinder engine. After all the engine repair turned out to be more than I aspect so I decided to go al the way. Major parts which has been replaced: Aluminum fast road cylinder head. Omega high compression pistons. Oil pump. Aluminum sump. Reground camshaft. And so much more.
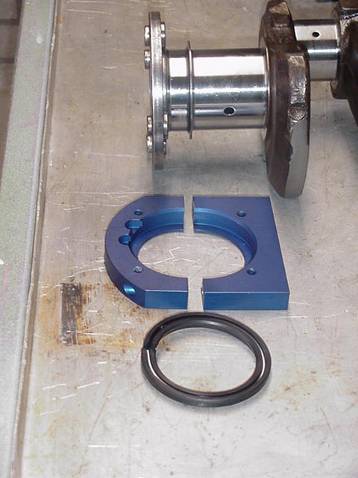
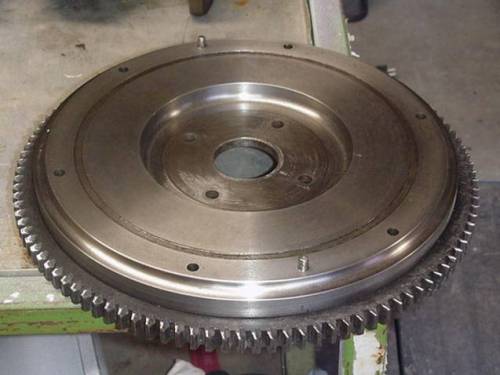
Engine continue
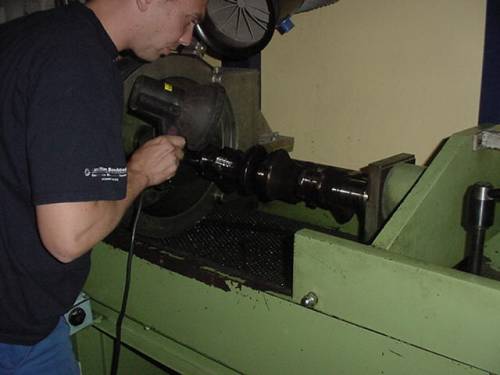
Crack inspection on crank shaft & piston rods Oil seal kit on crank shaft Lightened flight wheel ( 5 Kg or 25% )
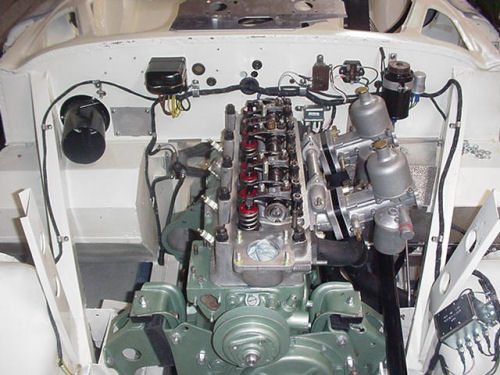
Engine final assembly
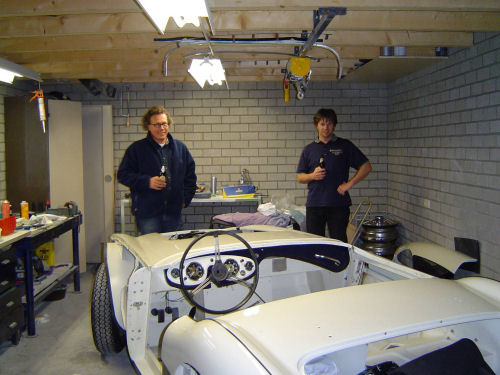
Re-united after two years
Spraying
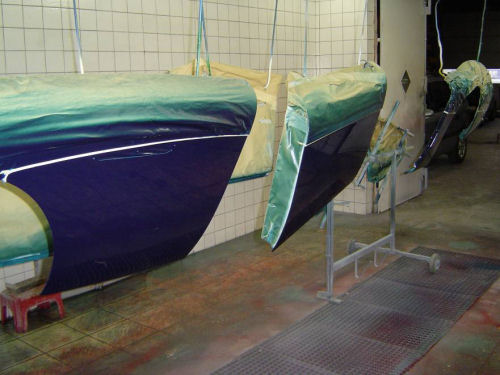
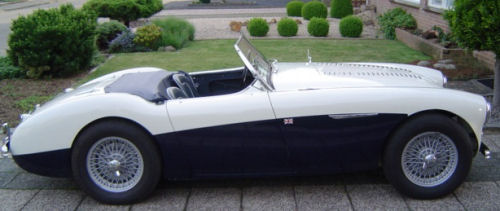
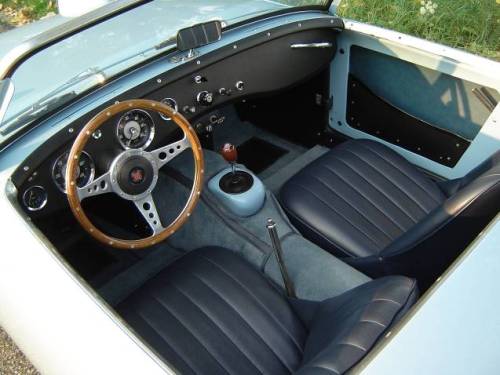
The spraying of the outer panels I did with the panels off the car. Inner as well as the out side I sprayed at the same time. No masking needed at this time. It turned out to be that choosing two colors is twice as much work. Now you need to mask the inside as well. If you would ever consider to spray dark blue over white be advised that white keeps shining through. Pre spraying with gray is the solution. I could not find a collar code for lobelia blue. I took a Rover color: Night Watch Blue.
Finally assembly
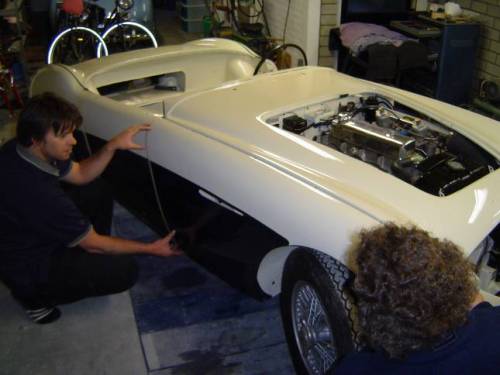
Cheers
Some detail images
Finished after 3 years
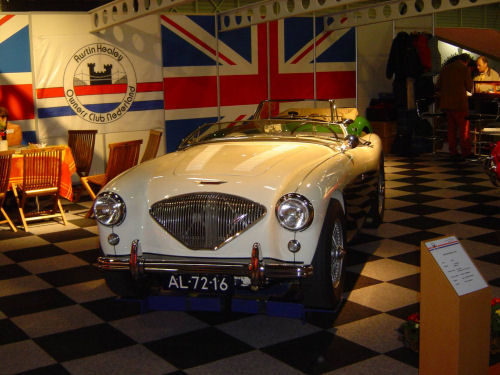
MECC Interclassic 2005
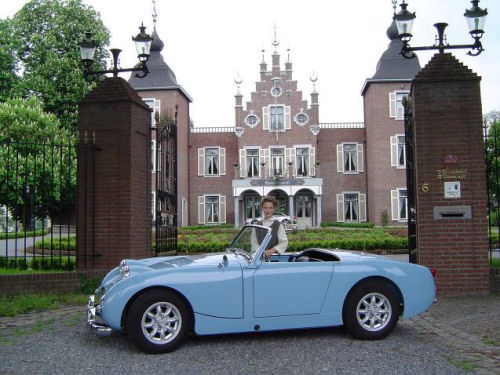
My previous project
My latest: BN1L 224984