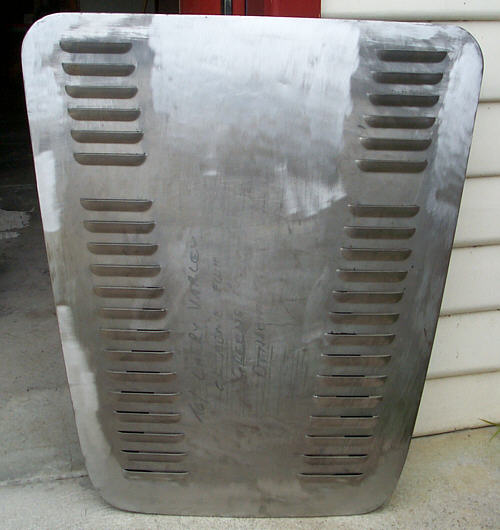
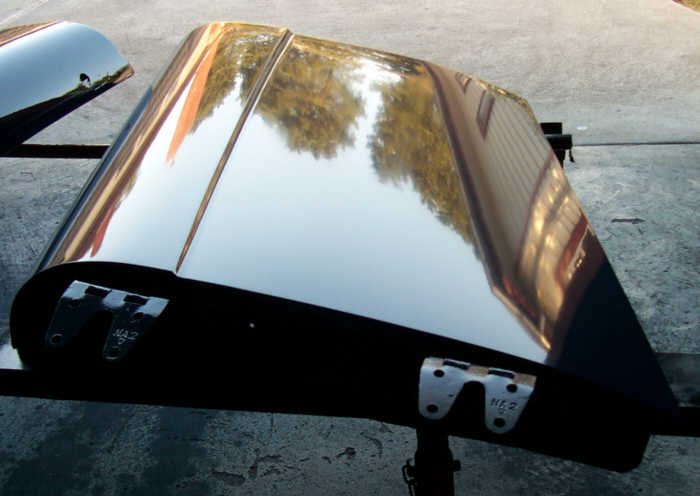
The bonnet that came with the car was well beyond repair. Jim Reddy
came to the rescue with a excellent replacement which is shown above after
returning from Kilmartin Sheetmetal who louvered it for me.
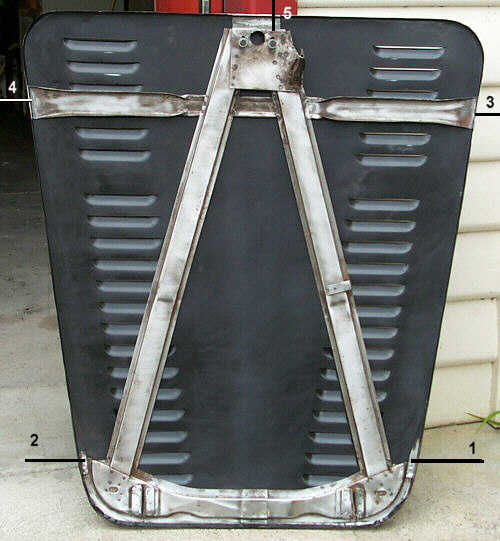 The bonnet frame is shown above after being re installed in the skin.
The frame has to be removed to have the skin louvered, this must be done
very carefully. At points 1 and 2 carefully drill through the angle brace
where it is spot welded to the frame. On this bonnet there were 3 spots
on each side, I used a 7/32 drill to start each hole, then a second drill
of the same size with it's point ground almost flat to drill through. At
points 3 and 4, I cut through the frame with an angle grinder leaving the
frames folded edge attached to the skin. The edge can easily be replaced
on the frame later and the edges left attached to the skin can be carefully
ground off. This way no damage is caused to the rather fragile edge of
the skin. At point 5, I also ground through the spot welds at the expense
of the frame to release it, however I was later informed by Greg Kilmartin
that the best method is to cut along the edge where my indicating line
ends on the image above, and leave this part of the frame attached to the
skin. It can then be simply welded along this edge after the louvering
has been done.
The bonnet frame is shown above after being re installed in the skin.
The frame has to be removed to have the skin louvered, this must be done
very carefully. At points 1 and 2 carefully drill through the angle brace
where it is spot welded to the frame. On this bonnet there were 3 spots
on each side, I used a 7/32 drill to start each hole, then a second drill
of the same size with it's point ground almost flat to drill through. At
points 3 and 4, I cut through the frame with an angle grinder leaving the
frames folded edge attached to the skin. The edge can easily be replaced
on the frame later and the edges left attached to the skin can be carefully
ground off. This way no damage is caused to the rather fragile edge of
the skin. At point 5, I also ground through the spot welds at the expense
of the frame to release it, however I was later informed by Greg Kilmartin
that the best method is to cut along the edge where my indicating line
ends on the image above, and leave this part of the frame attached to the
skin. It can then be simply welded along this edge after the louvering
has been done.
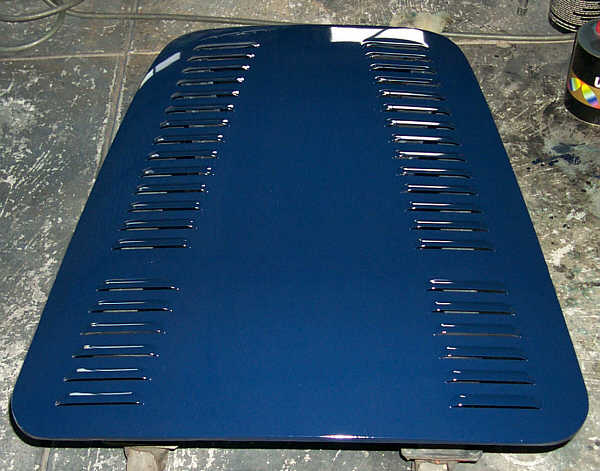
Having released the frame from the skin, the frame is lifted away
from the skin at the catch end and slide back. The skin is not welded anywhere
along the front edge where the frame sits under the folded edge of the
skin.
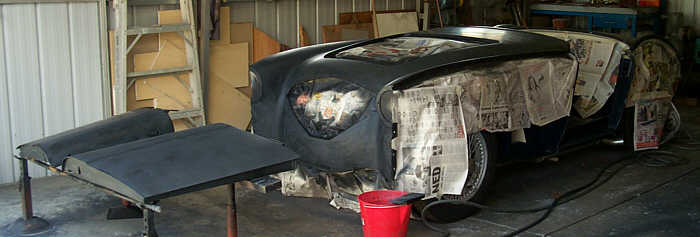
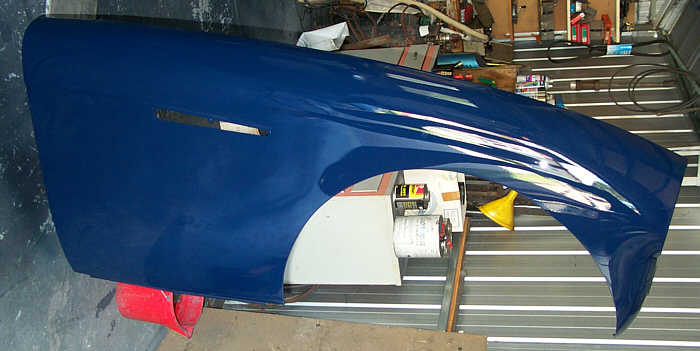
I decided that the best coarse of action was to install the front
and rear shrouds on the car for painting. This is my personal preference
as I felt that there was less chance of damage to the paint work and it
was easy enough to mask off so that the rest of the car so it is protected.
I would also have had no room left in the garage if I tried to paint them
off! The undersides are already painted in their primer finnish. As the
body work has taken a while and on some panels the primer has been on for
over a year, I decided that I would apply another coat of undercoat to
all the panels and block sand them back with 600 grit wet.
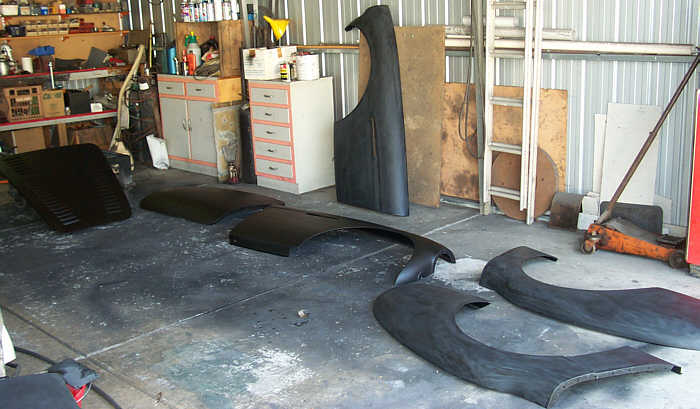
Sanding in progress, what a job! I would also mention that bonnet
louvering looks great, but sanding all those louvers is no fun at all!

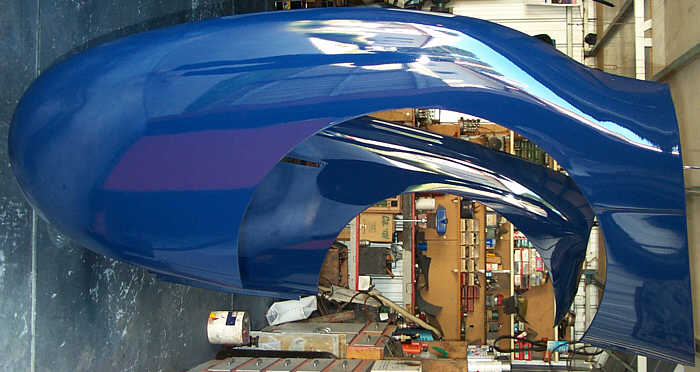
Colour at last. This is the point where you find out how good your
repairs are. There is nothing like a shine to show up the faults.
And this is how it should look, the right door will however will
need a bit more sanding! The guards (wings), bonnet, rear shroud and boot
lid all came out ok, the front shroud has shown up a couple of areas that
will improve after some more sanding.
Now that the first coat is applied, it is back to the sanding with
600 grit wet before applying the next coats. Well it's back to work.......
Page 22