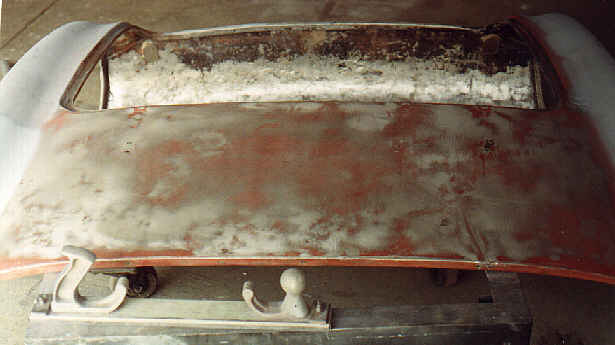
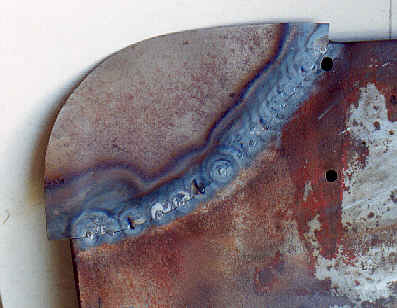
The images above and below show
the rear shroud during the process of repair. Unfortunately I lost the
photos I took of it before I started, so I can only say that it was in
pretty bad shape, the relatively flat area shown above, curved down instead
of up, someone had taken to it with a disc sander to remove the paint,
badly scouring the surface and the roll below the boot lid pictured below,
was filled with up to half an inch of body filler. The shroud was cracked
on both sides near the top of the boot opening where the manufacturing
join was made. I repaired this using what seems to be the usual method
of cutting an 1 1/2 inch hole through the area of the crack and welding
in a patch. I used the T.I.G welding process for this. As I don't intend
to fit a rear bumper to the car I also welded in the rear bumper iron openings
( a la 100S) and a few extra holes that had been drilled through it. As
usual the images don't do justice the the amount of time that has gone
into this so far ( about 25 hours )
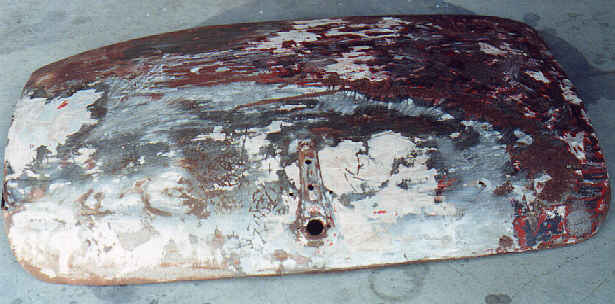
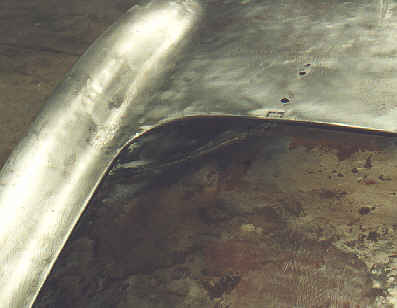
Now that the shroud is basically back to it's correct shape, I'm working on the boot lid. As both parts have to fit together I want to get it repaired before I finnish the shroud. The image below shows the skin with inner frame removed and the process of removing paint and body filler under way.
 \
\
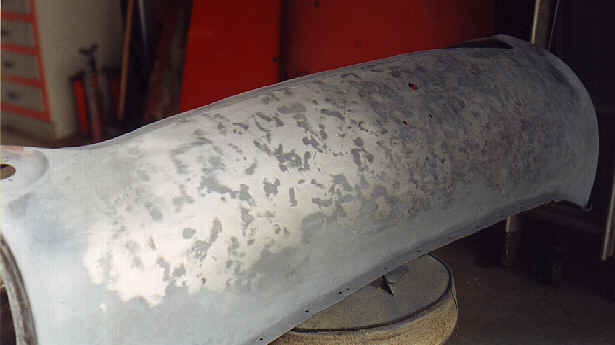
As is common on the 100, the left edge of the boot lid was damaged due to heavy hands trying to operate the boot lid prop. The repair section that I have welded in can be seen in the image below. The boot lid has been returned to roughly it's correct shape.
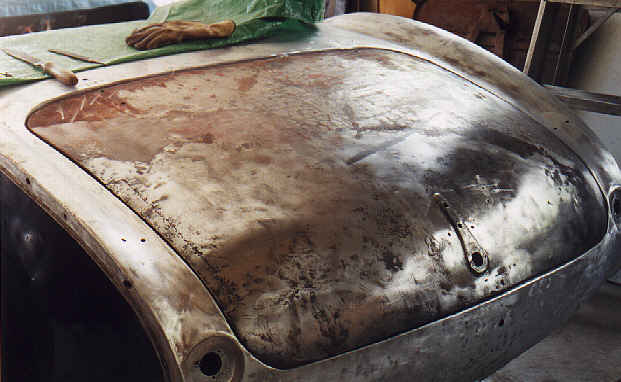
Both top corners of the lid were rusted through, the image below shows the start of the process of repair. The process I'm using is butt weld oxy. After preparing a patch to near perfect match with the cutout it is tacked in place starting half an inch in from one edge and working across the panel. Each tack is planished using a hammer and dolly to release the shrinkage that takes place when heated before the next tack. Once the tacks are completed the two pieces are fused together with a single pass.
The edge is then folded and welded.
The completed corner is shown below ready for final dressing with a hammer and dolly. The completed shroud and boot lid are still a way off yet.
Page 15
Home